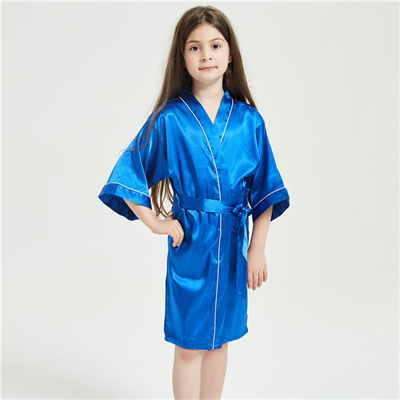
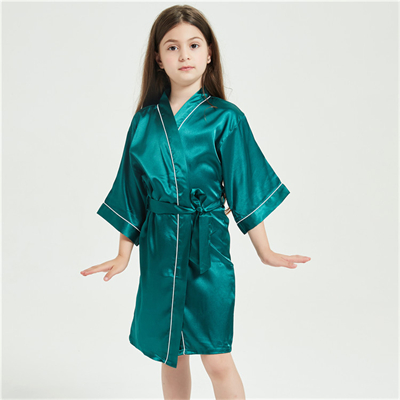
Decorating kids’ pajamas at home can be a fun and creative activity that adds a personal touch to their sleepwear. Here’s a step-by-step guide to DIY pajama decorating:
Materials You’ll Need:
- Plain pajama sets (make sure they are clean and prewashed)
- Fabric markers or fabric paints
- Stencils or templates (optional)
- Iron-on patches or appliqués (optional)
- Fabric glue (if using patches)
- Paintbrushes (if using paints)
- Plastic or cardboard to place inside the pajamas (to prevent bleed-through)
Steps:
- Plan Your Design: Before you begin, decide on the design you want to create on the pajamas. You could go with a theme, favorite characters, animals, or even abstract patterns.
- Prep the Pajamas: Lay out the pajama sets on a flat surface. If using fabric markers or paints, place a piece of plastic or cardboard inside the pajamas to prevent the markers or paints from bleeding through to the other side.
- Use Stencils (Optional): If you’re not confident in your freehand drawing skills, you can use stencils or templates to create neat and uniform designs. Place the stencil where you want the design to be and hold it in place while you decorate.
- Start Decorating: Begin decorating the pajamas using fabric markers or fabric paints. Be patient and take your time to ensure a clean and vibrant design. You can create patterns, images, or even write messages.
- Add Iron-On Patches (Optional): If you have iron-on patches or appliqués, follow the instructions provided with the patches to attach them to the pajamas. Use an iron to adhere them securely. This is a great way to add texture and dimension to the design.
- Let It Dry: Allow the markers, paints, or patches to dry completely before moving the pajamas to avoid smudging.
- Set the Design (If Needed): Depending on the type of fabric markers or paints you used, you might need to set the design. Follow the instructions on the markers or paints to heat-set the design. This usually involves ironing the design on the reverse side of the fabric.
- Inspect and Touch Up: Once everything is dry, inspect your design. If you notice any areas that need touch-ups, go ahead and fix them.
- Wash and Care Instructions: Depending on the type of markers or paints you used, there might be specific washing and care instructions. Follow these guidelines to ensure the design remains intact after washes.
- Show off and Enjoy: Once the pajamas are decorated and ready, your child can proudly wear their custom-designed sleepwear!
This DIY activity not only allows kids to express their creativity but also gives them a sense of ownership over their pajamas. It’s a great way to bond with your child and create special memories together. Just remember to ensure that the materials used are safe and appropriate for children.


